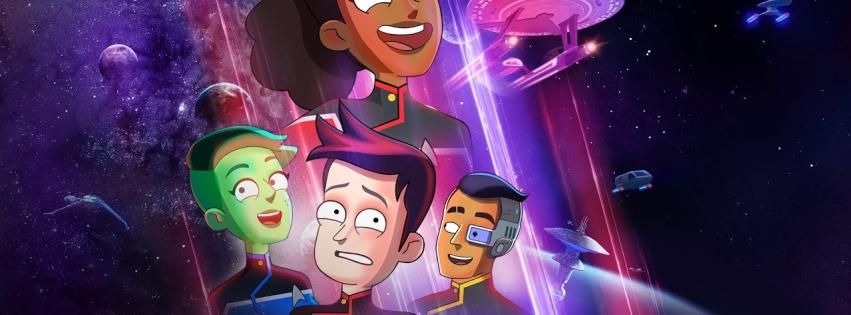
Star Trek: Lower Decks
Thursdays on Paramount+Star Trek: Lower Decks Season 4 Episode 7
A Few Badgeys More
Recap
On board, the Drookmani captain claims salvage over Badgey who offers to share all the Starfleet codes. The captain is tempted and when he brings the implant close enough to his face, Badgey assimilates him.
A Bynar ship encounters the mysterious vessel. It meets the same fate as all the other ships. The Drookmani ship with Badgey aboard scans the debris for salvage.
On the Cerritos, Rutherford is testing a grappler and its aim is off. It pins Tendi to the wall through her uniform top. That she could’ve been hurt upsets Rutherford. She reassures him that she’s fine. All four head to the briefing.
At the briefing, they are told the Cerritos is being sent to investigate to attack on the Bynar ship. However, Tendi and Boimler will be going to the Daystrom Institute. Tendi will sit in on Peanut Hamper’s parole hearing. Boimler is being summoned by Agimus for intel on the attack on the Bynar ship.
At the Daystrom Institute, Peanut Hamper and Agimus are gardening their tomatoes.
They discuss their partnership and their escape plans. Peanut Hamper rehearses her speech for the parole board. Agimus shows her how he’s learned to turn his red light blue in order to look not-evil.
The Cerritos arrives at the location of the attack on the Bynar ship. The Drookmani ship approaches and the captain tries to ask them for help but Badgey incapacitates him first.
At Daystrom, Peanut Hamper is summoned to her parole hearing. Agimus is taken to see Boimler who isn’t impressed by his greeting. Agimus pleads with him to stay, telling him that his drones are still free in the quadrant and one saw the attack on the Bynar ship. He claims that the footage is only accessible if he could physically connect with the drone.
Boimler is suspicious but agrees to take Agimus to the drone.
Badgey has control of the Drookmani ship and opens fire on the Cerritos. Rutherford requests to be beamed over but Freeman denies his request. While her back is turned, he runs off the bridge, suits up in an EV, and leaps out towards the Drookmani ship.
As he’s floating over, Mariner grabs his ankle, also suited up for a space walk.
They’re beamed aboard the Drookmani ship and Badgey greets them. Rutherford embraces Badgey. This glitches Badgey’s programming.
Boimler takes Agimus to the coordinates of the drone on a shuttle. Tenid reports that Peanut Hamper’s parole hearing went well. Despite being bound, Agimus releases two drones (originally designed to garden with) that take over control of the shuttle and restrain Boimler and Tendi.
Rutherford admits he should’ve treated Badgey as a son, not a science experiment. Badgey is touched by this compassion but his angry side is still angry and the program dissociates, creating two Badgeys – the original angry one and Goodgy, the one who forgives Rutherford and still loves him.
Tendi and Boimler wait on a beach with Agimus who expects Peanut Hamper to meet him there.
Agimus realizes Peanut Hamper has ditched him and orders Boimler to take him to Plymeria, the planet he and Peanut Hamper had agreed to subjugate together.
Badgey threatens to kill everyone Rutherford loves if he doesn’t surrender. Badgey takes control of the Cerritos and floods the ship with neurozine gas.
Rutherford rushes to the Drookmani bridge and uses logic to argue that Badgey won’t get anything from killing the Cerritos’ crew.
Realizing this, Badgey deactivates the gas, but this causes him to dissociate again, splitting off into Logicky.
Badgey decides to kill everyone in the Federation.
Logicky figures out a way to stop Badgey. He flings himself at Badgey and reintegrates.
On Plymeria, Agimus takes over in the name of him and Peanut Hamper, but she’s not there and it’s just not satisfying.
Tendi tracks Peanut Hamper to the Tyrus VIIA Research Station. Agimus insists they go there immediately.
Peanut Hamper repartitions Logicky, then breaks his back to deactivate him.
Badgey prepares to upload himself across all Federation subspace channels.
The shuttle arrives at Tyrus VIIA Station. Agimus finds exocomps in charge of all the station’s maintenance. Peanut Hamper is working side-by-side with her father. She admits she came on her own and is enjoying the work.
She and Agimus clear the air. She introduces him to her father and he offers to help out around the station.
Badgey succeeds in casting him throughout the subspace relays and attains god-like knowledge and comprehension. He realizes life is beautiful and ascends to the Great Koala.
Agimus is returned to his cell at Daystrom. He plans to rehabilitate and petition for parole so he can move in with Peanut Hamper.
He apologizes to Boimler and Tendi for kidnapping them. Boimler asks about the intel and Agimus provides the footage of the theft of the Bynar ship. All the ships were stolen, not destroyed.
On the Cerritos, Rutherford tries the grappler again. It works better, although still not well. Rutherford shares that he’s using Goodgy as the guidance system. Tendi and Mariner leave.
- Show:
- Star Trek: Lower Decks
- Season:
- Star Trek: Lower Decks Season 4
- Episode Number:
- 7


